
Elevate Your Dishes with Homemade Tamarind Paste: A Flavorful Journey!
Ah, the first time I encountered tamarind, it was during a family gathering, bustling with laughter and the smell of spices wafting through the air. My aunt whipped up her famous spicy tamarind chutney, and I was hooked. That tangy, sweet, and slightly sour explosion on my taste buds inspired me to recreate that comforting feeling in my own kitchen. Have you ever craved that perfect balance of flavors that only Homemade Tamarind Paste can deliver?
This recipe is not just any ordinary paste; it’s a culinary gem passed down through generations. Unlike those canned versions that can be overly sweet or lack depth, this homemade tamarind paste captures the essence of tamarind in its purest form. You’ll find it richer, fresher, and utterly transformational for your dishes, from tangy curries to refreshing drinks. This beloved family recipe brings back memories of warmth and togetherness, promising to transport you through taste.
Ready to infuse your meals with this delightful tangy goodness? In this blog post, I’ll guide you through making your very own Homemade Tamarind Paste, step-by-step, ensuring you’ll be sipping and savoring in no time!
What Are Homemade Tamarind Paste?
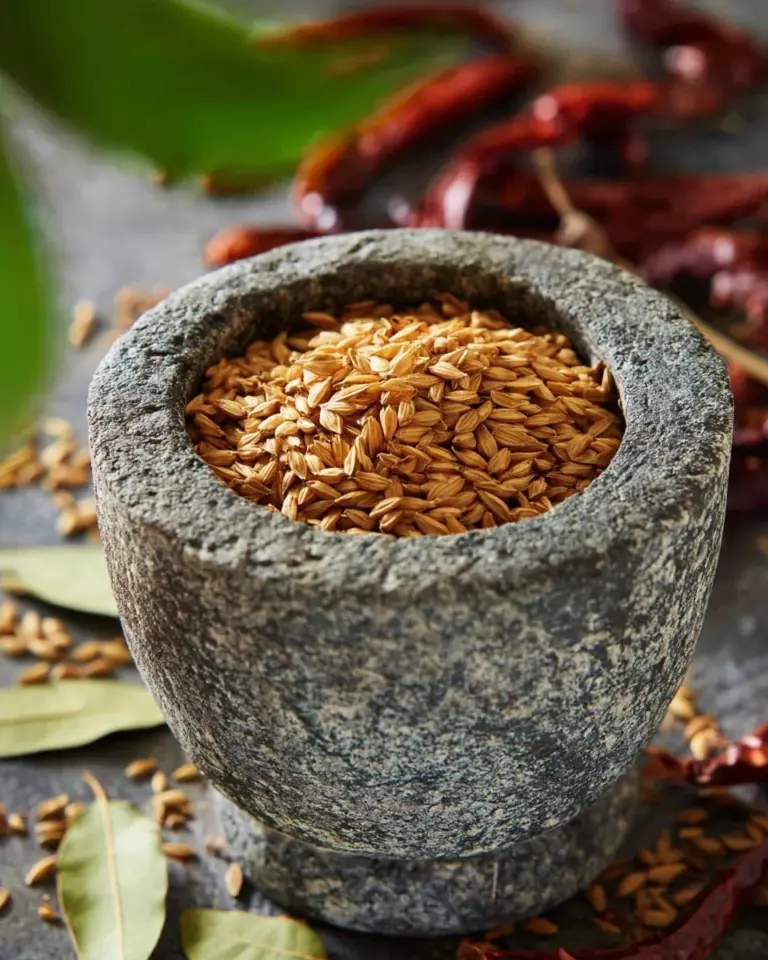
Tamarind paste comes from the tamarind tree, a tropical tree native to Africa, but now widely grown in Asia and the Caribbean. The fruit is a brown pod filled with a sticky and gooey pulp, which is what makes this paste so unique. Its taste is a delightful dance between sweet, sour, and slightly earthy, providing a complex flavor profile that elevates dishes to a whole new level.
What sets homemade tamarind paste apart from the store-bought versions? It’s all about quality and control. You have the freedom to adjust the sweetness, acidity, and overall flavor according to your personal preference. Plus, when you make it yourself, you know exactly what goes into it, making it a healthier alternative.
Whether you’re enhancing your favorite recipes or creating new ones, this paste will soon become a staple in your pantry. It’s the perfect companion for marinades, soups, chutneys, and even beverages—an essential ingredient when you’re aiming to impress friends and family with your culinary skills.
Why You’ll Love This Recipe
1. Unparalleled Freshness
Making Homemade Tamarind Paste means you’re using fresh ingredients, ensuring that your paste is vibrant and bursting with flavor, unlike the often stale and less flavorful store-bought options.
2. Cost-Effective Creation
Let’s talk about cost: a 1/2 lb of seedless tamarind pulp can be quite economical compared to purchasing small jars of tamarind paste which often come with a hefty price tag. Plus, you’ll get much more paste than you’ll find in most expensive pre-packaged varieties.
3. Customizable Flavors
When you make it at home, you’re the boss! Adjust the sweetness, add spices, or even infuse it with other flavors to create your unique take on tamarind paste. That’s a luxury you just don’t get with those pre-packaged versions.
4. Simple to Make
Don’t fret about difficulty! This recipe is straightforward and requires minimal kitchen skills. It’s an enjoyable process, and you’ll feel like a culinary wizard when you’re done!
5. Versatile Use
Prepare to be amazed by the endless uses of tamarind paste. From international cuisines to unexpected pairings, it’s a versatile ingredient that complements a variety of dishes, helping you explore new culinary adventures.
With such compelling reasons, are you ready to dive into this delightful recipe? Let’s get cooking!

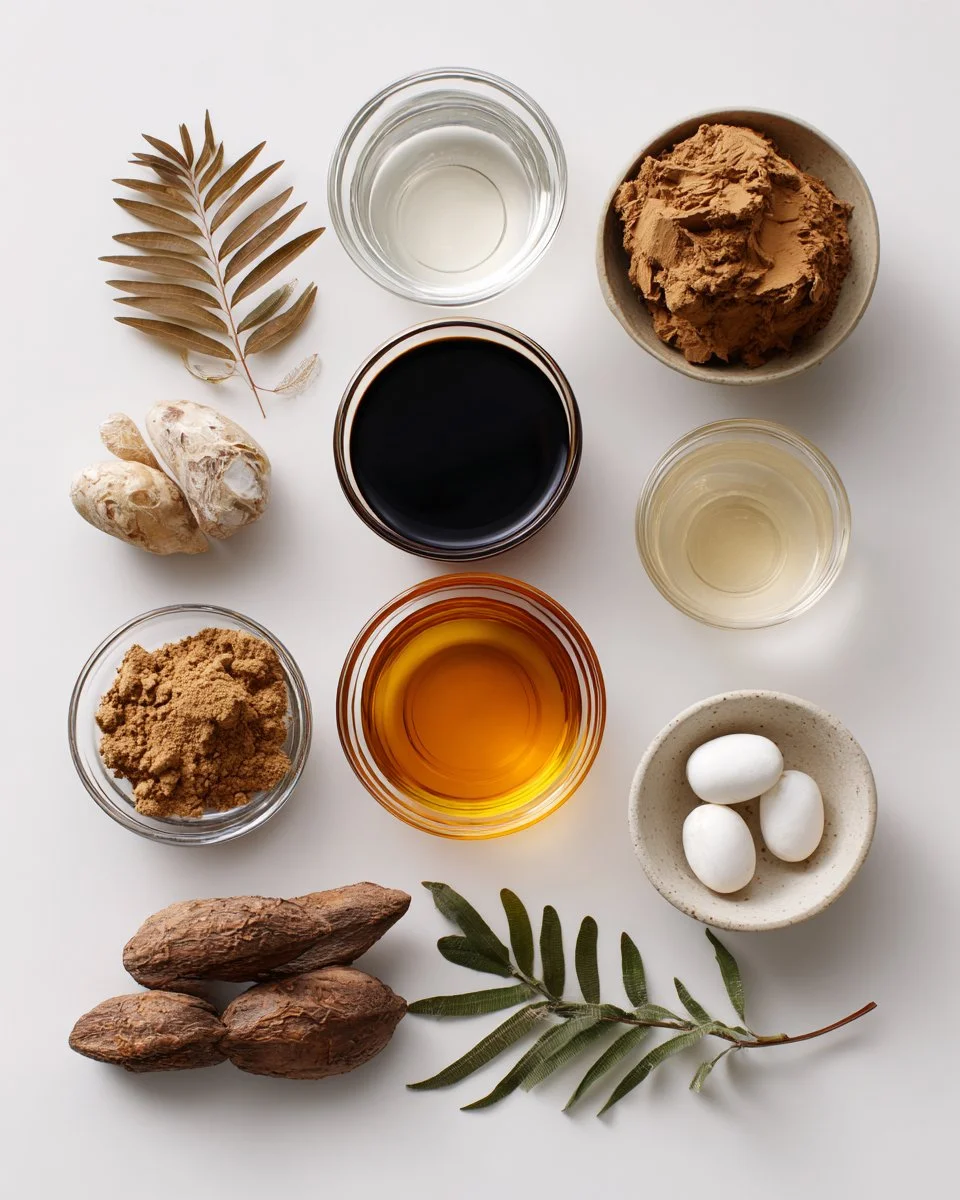
Ingredients
To whip up your Homemade Tamarind Paste, here’s what you’ll need:
-
1/2 lb seedless tamarind pulp
- Look for high-quality, soft tamarind pulp at your local Asian grocery store or online. Brands like Dawn or Khana Khazana are fantastic choices.
-
2 cups hot water
- Freshly boiled water works wonders to soften the pulp, so no lukewarm water here!
-
1/2 cup room temperature water
- Ensure it is truly room temperature as it helps with the final paste consistency.
Prep Notes:
- Make sure to have clean hands and a sturdy sieve ready for straining the mixture!
Step-by-Step Instructions
Let’s make some magic happen with this Homemade Tamarind Paste! Follow these detailed steps:
-
Break It Down: Pull apart the tamarind block into small chunks and place them in a large heat-proof mixing bowl. Feel free to channel your inner chef and smash it a bit; it makes the next step easier!
-
Hydration Station: Pour the hot water over the tamarind and let it sit for about 20 minutes. This softening process is crucial—don’t rush it! You’ll want it cool enough to handle.
-
Get Messy: Once you can handle it, use clean hands to squeeze and scrunch the pulp, loosening it from the fibers. Aim for a smooth, creamy consistency—think of it like making a tamarind smoothie! This could take another 5–7 minutes.
-
Strain It: Strain the mixture through a fine sieve into a pot—a slipknot or cheesecloth works too! If needed, add more hot water to help loosen the paste.
-
Squeeze and Extract: Gradually pour about 1/2 cup of room-temperature water over the fibers in the sieve to extract any remaining liquid gold.
-
Cook It Up: Heat the strained mixture over medium-high heat, stirring constantly until it begins to boil. This will take about 4-5 minutes. You’ll know it’s ready when it starts to thicken slightly.
-
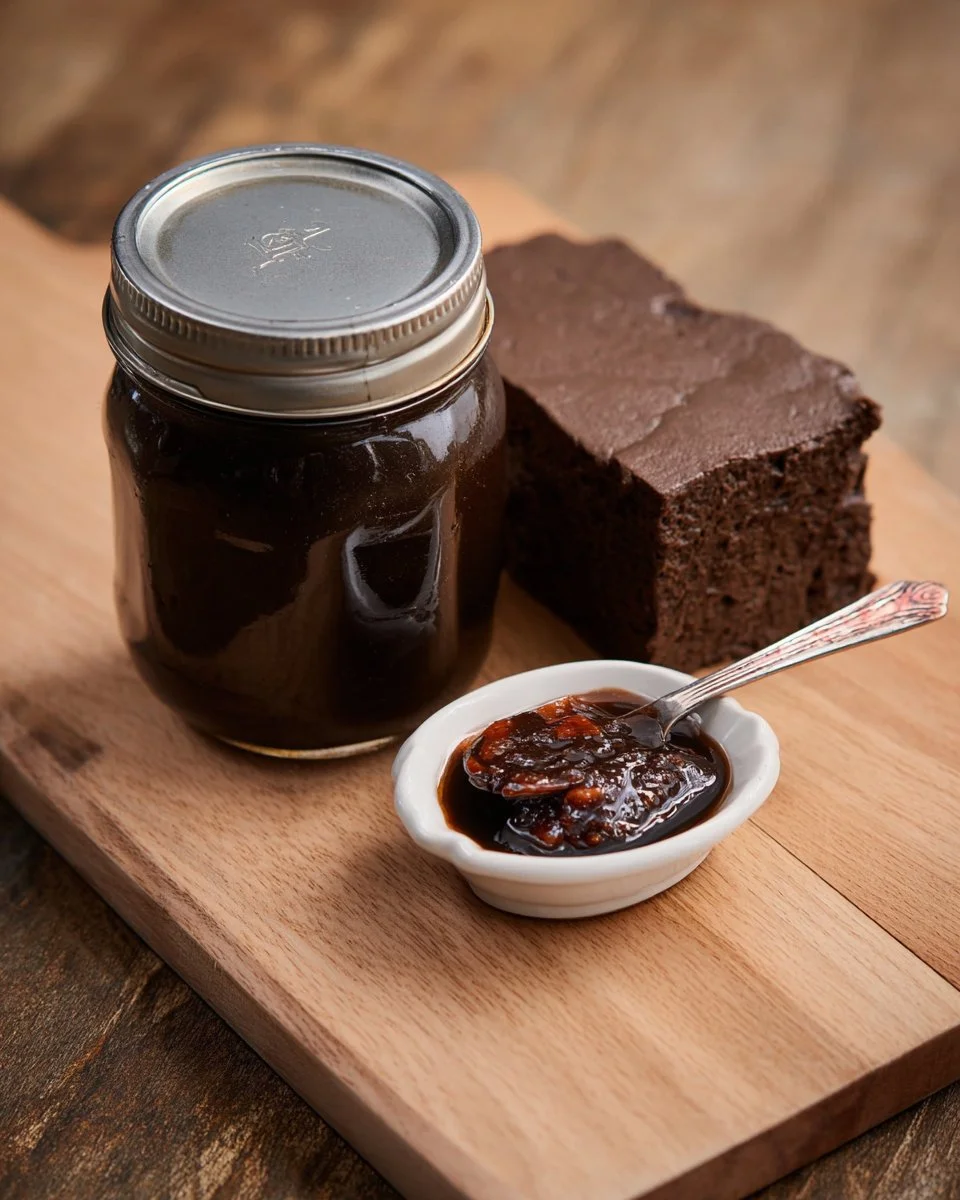
Jar It Up: Once boiling, transfer the hot paste into clean, small mason jars and close the lids while still hot. This seals in moisture and flavor—bonus!
-
Cool and Store: Allow the jars to cool at room temperature before refrigerating. For long-lasting goodness, freeze the paste in ice cube trays and store in freezer bags for up to 6 months!
Chef’s Tips:
- Don’t Skip the Soaking: Letting it soak well is essential for achieving the right consistency.
- Avoid Clumps: Use a sturdy sieve to prevent any clumps from sneaking in.
Common Mistake to Avoid: If your paste is too thick, don’t hesitate to add a tad more water during cooking for the desired consistency.
Expert Tips & Tricks
For those wanting to make the best Homemade Tamarind Paste, here are my top expert tips:
-
Quality Over Quantity: Always choose fresh and high-quality tamarind pulp. It makes all the difference in flavor!
-
Troubleshooting Thickness: If your paste ends up being too thick, just add a splash of hot water and stir it in over low heat to bring it back to life.
-
Storage Savvy: Store unopened jars in the fridge for up to 2 weeks. However, if you freeze the paste in ice cube trays, it’ll last for about 6 months – just pop out a few when you need them!
-
Make Ahead Magic: You can whip up a batch in advance for a busy week ahead. Prepare it on a Sunday and enjoy homemade flavors throughout the week.
-
Experiment with Flavors: Add a hint of chili for a spicy kick or mix in some sugar for a sweeter undertone. Remember, cooking is all about experimenting!
Serving Suggestions
Wondering how to use your Homemade Tamarind Paste once you whip it up? Here are some ideas:
- Marinades: Use it as a marinade for grilled meats or tofu to infuse delicious flavor.
- Sauces and Dressing: Whip up a tangy sauce for spring rolls or a bright dressing for salads!
- Drinks: Mix it into cocktails or refreshing beverages for a unique twist. Think tamarind margaritas or spritzers.
Presentation-wise, jar it up beautifully to gift to friends and family or use it to elevate your dinner parties!
Variations & Substitutions
Feeling adventurous? Here are some fun variations you can try:
- Sweet Tamarind Paste: Add more sugar or jaggery for a sweeter profile, perfect for dipping sauces.
- Spicy Version: Mix in some chili powder or finely minced fresh chilies to add a spicy dimension to your paste.
- Citrus Twist: Mix in a little freshly squeezed lime or lemon juice to create a bright, zesty flavor profile on dishes.
For dietary needs, use organic tamarind pulp for a cleaner version, perfect for those seeking natural ingredients. The beauty of this recipe lies in its versatility!
Nutrition & Storage Info
- Prep Time: 15 minutes
- Cook Time: 5-7 minutes
- Total Time: 25 minutes
- Yield: About 1 cup of tamarind paste (approx. 16 servings)
- Estimated Calories: 10 calories per tablespoon
- Storage Instructions:
- Room temperature: Not recommended for long-term.
- Fridge: Up to 2 weeks in sealed jars.
- Freezer: Up to 6 months in ice cube trays and freezer bags.
FAQ Section
-
Can I use dried tamarind instead of pulp?
Absolutely! Just make sure to soak it in warm water for about 30 minutes before using to soften it. -
What do I do if my paste is too sour?
Simply stir in a tsp of sugar or honey to balance out the flavors. -
Can I use tamarind paste in desserts?
Yes! It can add a unique twist to desserts like sorbets or even chocolate dishes. -
How long does it last in the freezer?
It lasts about 6 months if stored properly in airtight containers or ice cube trays. -
Is this recipe vegan?
Yes! This homemade paste is entirely vegan and vegetarian-friendly. -
How do I know if my tamarind is still good?
Fresh tamarind should smell fruity and slightly tangy. If it’s off, you’ll notice a disagreeable odor. -
What dishes pair well with tamarind paste?
Dishes like curries, pad thai, marinades, and dips really shine with tamarind’s unique flavor. -
Can I adjust the consistency?
Yes! Simply add water until you reach your desired thickness during cooking. -
What’s the best way to de-seed tamarind pods?
If you have whole pods, just pinch or break them open and discard the seeds. -
Is tamarind paste gluten-free?
Absolutely! Tamarind in its pure form is gluten-free.
Conclusion
Homemade Tamarind Paste is more than just an ingredient; it’s a way to bring culinary magic to your kitchen. The memories, moments, and flavors that this paste can evoke are truly special. I promise you—once you’ve made it, you’ll never look back to store-bought versions!
Give this recipe a go, and tell me how it turns out. I’m eager to hear your thoughts and encourage you to explore more delightful recipes on my blog. Let’s create some tantalizing dishes together, one tamarind paste at a time!

Homemade Tamarind Paste
Ingredients
Method
- Pull apart the tamarind block into small chunks and place them in a large heat-proof mixing bowl.
- Pour the hot water over the tamarind and let it sit for about 20 minutes.
- Once cool enough to handle, squeeze and scrunch the pulp to loosen it from the fibers.
- Strain the mixture through a fine sieve into a pot, adding more hot water if needed.
- Gradually pour about 1/2 cup of room-temperature water over the fibers in the sieve to extract any remaining liquid.
- Heat the strained mixture over medium-high heat, stirring constantly until it begins to boil.
- Once boiling, transfer the hot paste into clean, small mason jars and close the lids while still hot.
- Allow the jars to cool at room temperature before refrigerating.
- For long-lasting storage, freeze the paste in ice cube trays for up to 6 months.