
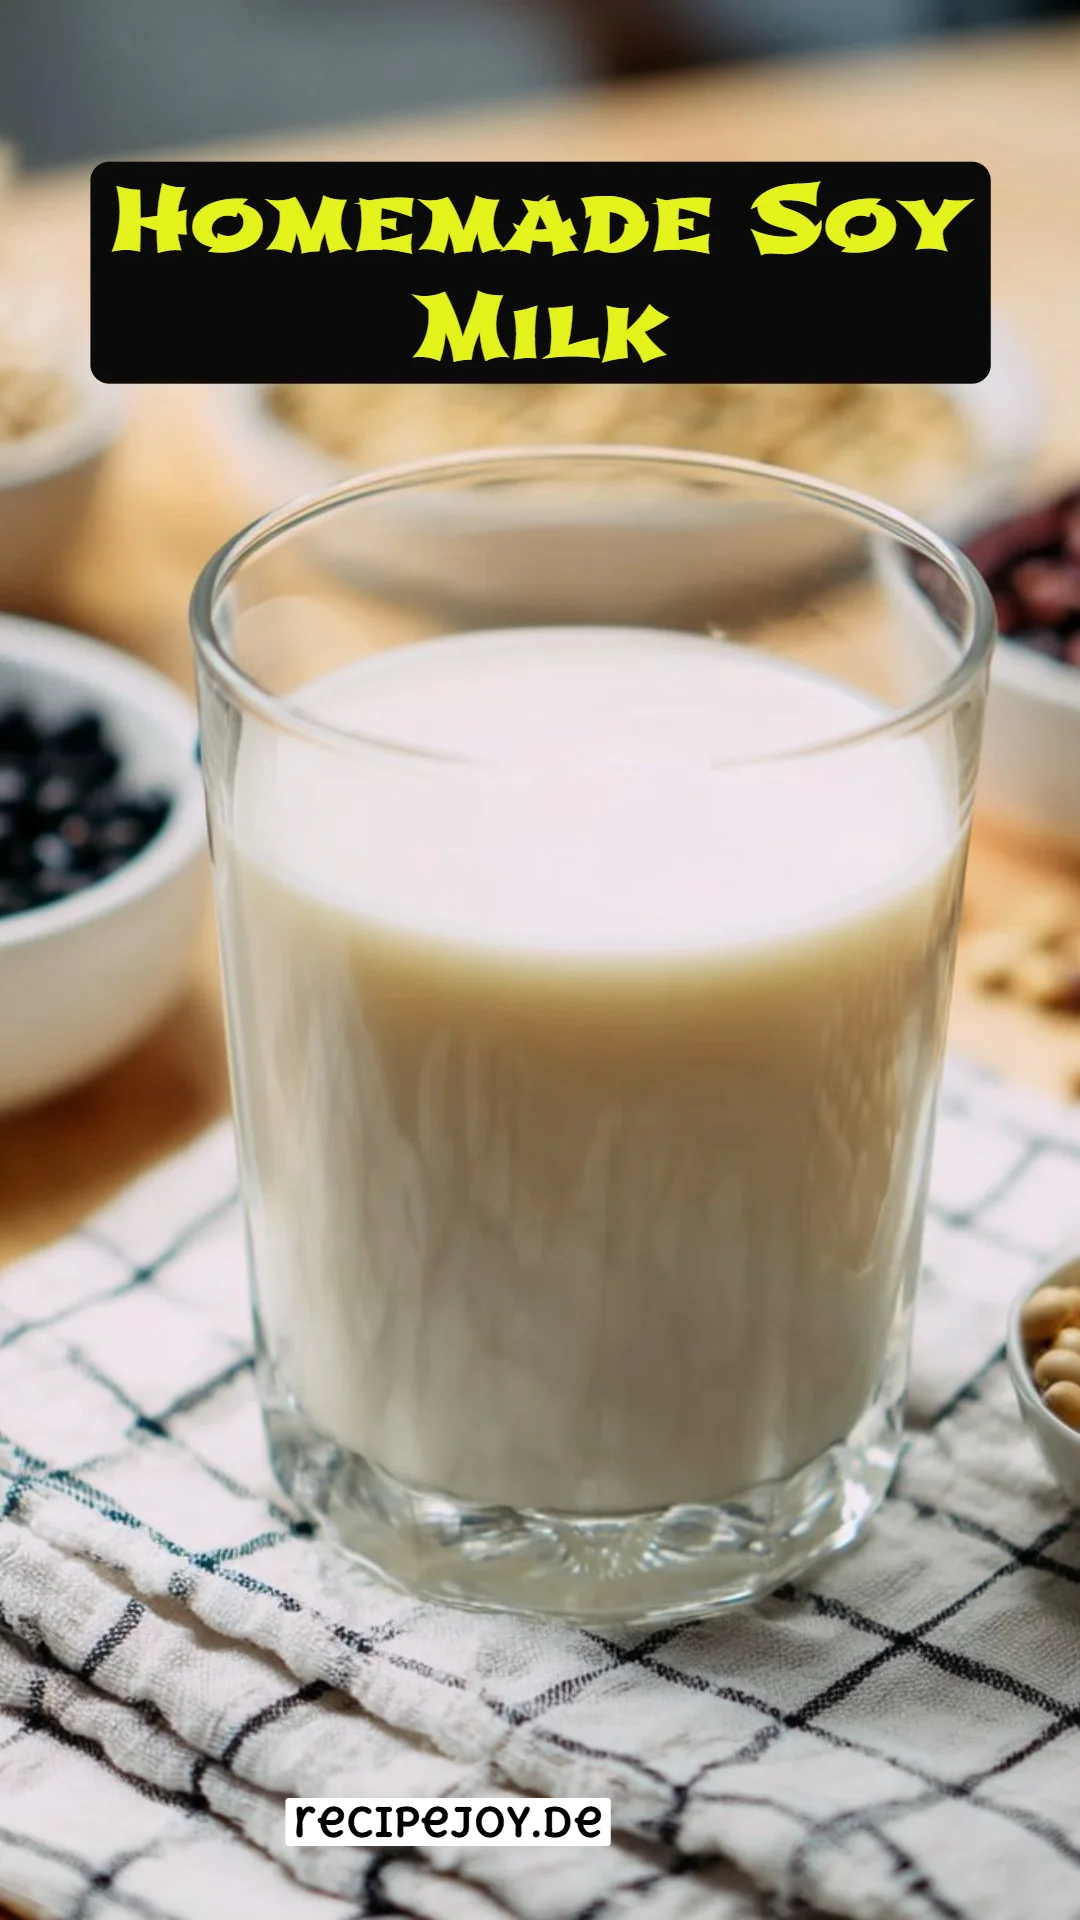
Creamy and Nutritious Homemade Soy Milk: Your Ultimate Guide to Dairy-Free Delight
There’s something truly magical about making your own soy milk at home. I still remember the first time I tried it. A cozy Saturday morning, the smell of fresh soybeans wafting through the kitchen, and the excited chatter of my little ones as they eagerly awaited their first taste. Homemade soy milk isn’t just a drink; it’s a warm hug in a glass, reminding me of simpler times filled with love and laughter.
What makes this homemade soy milk recipe so special? It’s this perfect blend of creamy texture, subtle sweetness, and the ability to customize each batch to fit my family’s taste preferences. Unlike store-bought versions that often contain preservatives and extra sugars, my recipe uses just a handful of wholesome ingredients. Plus, there’s a sense of accomplishment that comes with creating something so nutritious from scratch.
In this blog post, I promise to take you step-by-step through making mouthwatering homemade soy milk, showing you how to capture that cozy feeling in every silky sip. Whether you’re planning a satisfying breakfast or just want to switch up your dairy options, this recipe will have you coming back for more. So, let’s dive in!
What Are Homemade Soy Milk?
Homemade soy milk has roots tracing back thousands of years, originating in ancient China where it was crafted by soaking, grinding, and boiling soybeans. Today, it offers a delightful alternative to dairy milk, particularly for those who are lactose intolerant or following a vegan lifestyle.
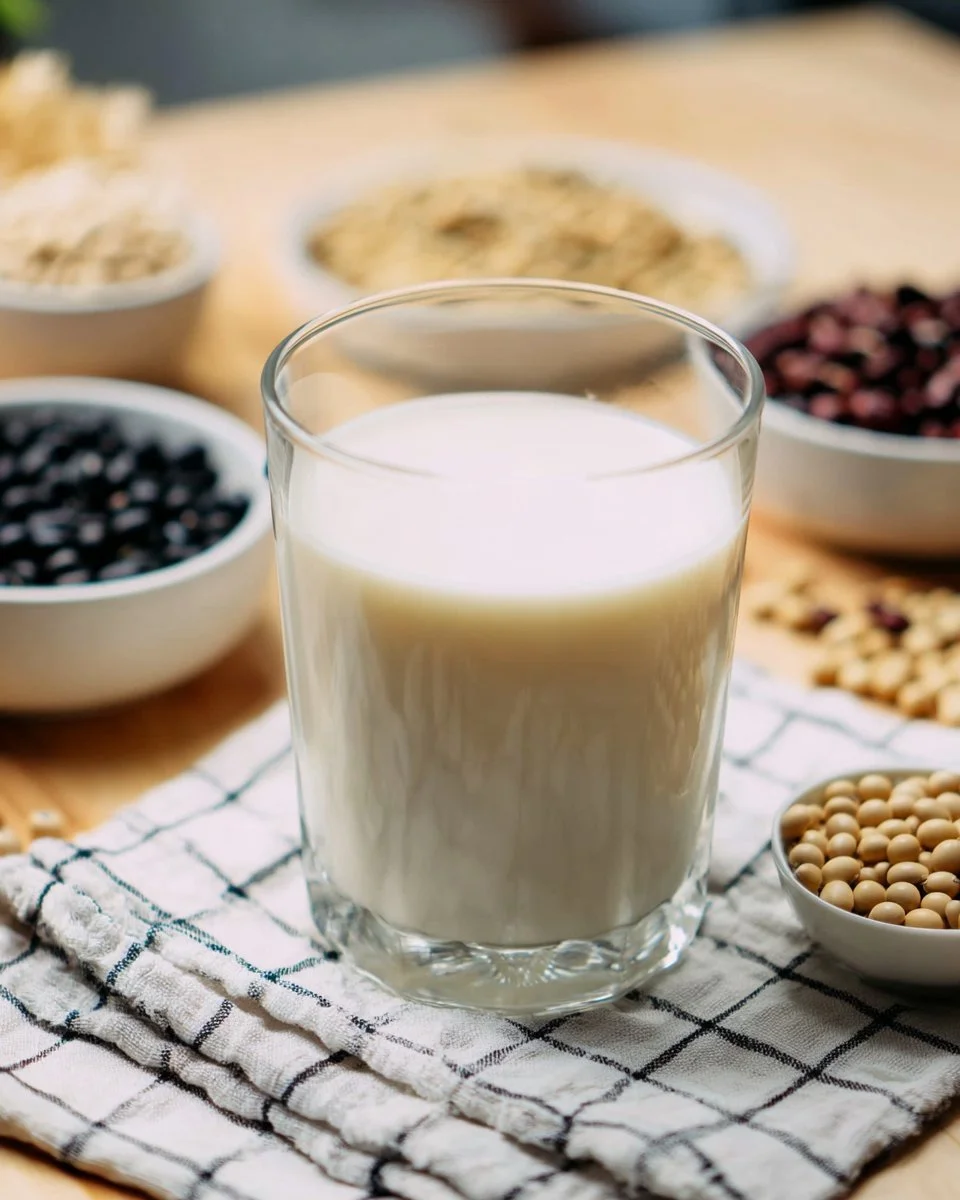
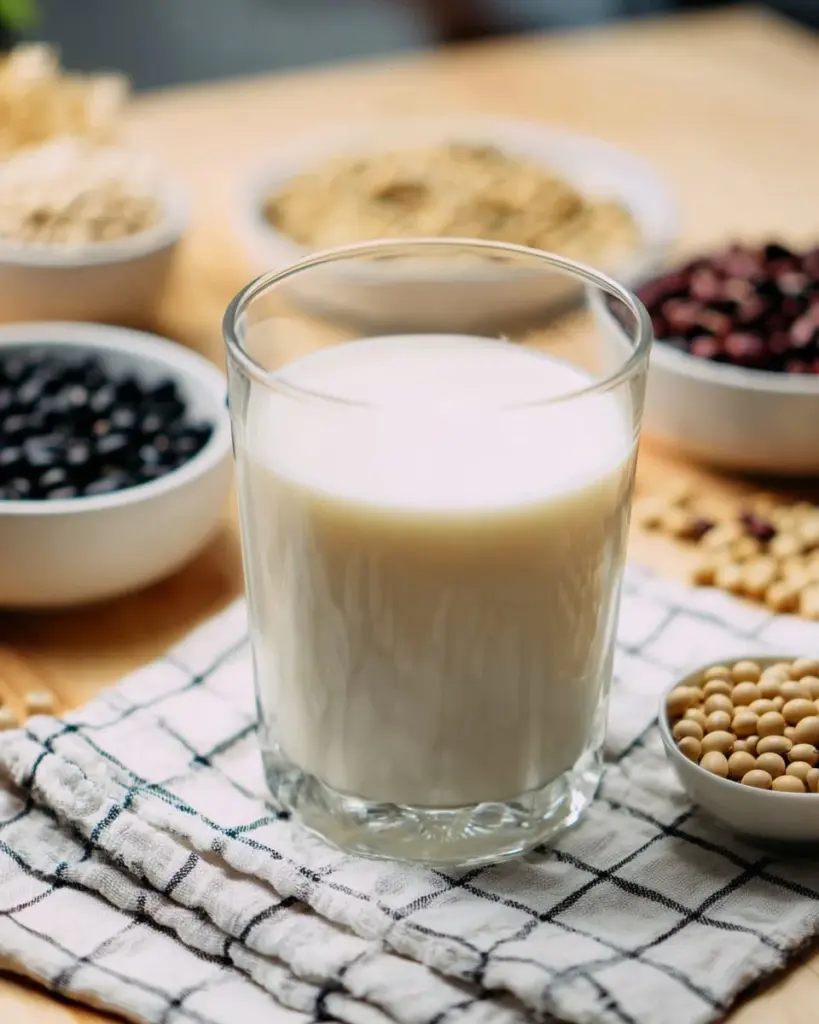
This creamy, plant-based beverage is made by soaking and blending soybeans with water, resulting in a smooth, slightly sweet liquid that’s rich in nutrients. The taste is mild and versatile, while the texture can range from light and frothy to thick and hearty, depending on your method of preparation. Making soy milk from scratch not only ensures its freshness but also allows you to control the flavors, sweetness, and texture to fit your personal preference.
You’ll find homemade soy milk perfect for lattes, smoothies, or just a chilled glass on its own. Plus, it’s super convenient to whip up anytime you need a dairy-free option in your day-to-day meals.
Why You’ll Love This Recipe
When you take one sip of this homemade soy milk, you’ll understand why it stands out from anything store-bought. Here are a few compelling reasons you’ll fall in love with this recipe:
Unmatched Freshness: Unlike packaged versions that can sit on shelves for weeks or months, nothing beats the freshness of homemade soy milk. You can taste the difference!
Cost-Effective: Making your own soy milk is incredibly budget-friendly. With just 150 grams of dry soybeans (around $1) and water, you can whip up over five cups of creamy goodness, compared to buying a single quart at the store.
Customizable to a Tee: Whether you’re into sweet, nutty, or even more adventurous flavors, you can easily tweak this recipe by adding ingredients like pandan leaves, sugar, or even cooked red beans for a unique twist.
Healthier Option: By making your soy milk, you avoid added preservatives, stabilizers, and hefty sugars often lurking in store-bought varieties. It’s a pure, wholesome drink that you can feel good about serving your family.
Easy and Rewarding: Even if you’re a beginner in the kitchen, I promise you can master this recipe! It requires minimal hands-on time, and I’ll guide you through every step to ensure success.
With just a bit of time and love, you’ll be able to craft the perfect glass of homemade soy milk that speaks to the heart!
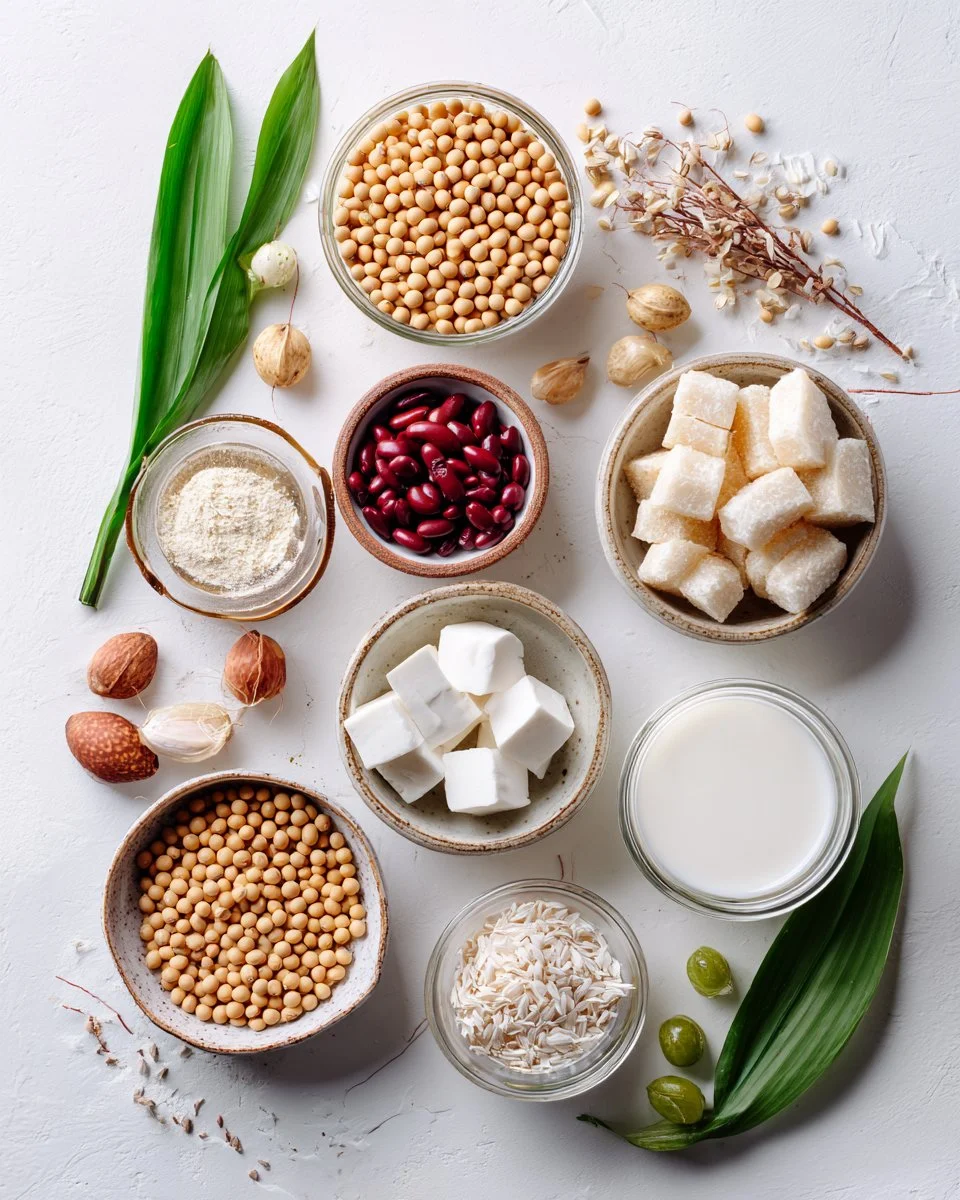
Ingredients
Before we get started, here’s what you’ll need to whip up your own delicious homemade soy milk:
- 150 grams dry soybeans (preferably split) – Look for organic varieties if possible; they enhance flavor and health benefits.
- 1.2 L (5 cups) water – Filtered water can yield even better results, giving you a purer taste.
- 1/2 pandan leaf (optional) – Adds a lovely aromatic flavor.
- A pinch of salt (optional) – Balances the sweetness.
- Sugar or other sweeteners to taste – You can opt for coconut sugar, agave syrup, or honey, depending on your dietary needs.
- Optional add-ins for texture and flavor:
- Cooked red beans
- Cooked mung beans
- Cooked job’s tears
- Rehydrated lemon basil seeds
- Cooked tapioca pearls
- Plain agar agar cubes
- Cooked ginkgo nuts
- Young coconut meat
Note: Make sure to soak your soybeans in plenty of water overnight or at least for 8 hours; this helps with easier blending and enhances the flavor.
Step-by-Step Instructions
Making soy milk at home is a rewarding process, and I’m excited to guide you through it! Here are the detailed steps:
Rinse and Soak: Rinse the soybeans thoroughly and soak them in plenty of water. If you have whole beans, soak them for at least 8 hours; if you’re using split beans, a minimum of 3 hours will do. Checking hydration is simple—crack open a soaked bean. If it splits easily, it’s ready!
Skin Removal: If using whole beans, remove most skins by rubbing them gently in the soaking water. Drain the water, and repeat until the majority of the skins are gone. This step may seem tedious but trust me, it’s worth it for a smoother milk!
Blend: In a blender, add the soaked soybeans and just enough water to cover them. Begin blending on a low setting until they become a fine puree. Gradually add the remaining water, leaving about 1.5 cups aside for later.
Strain: Set a sieve over a large pot, lined with muslin or cheesecloth. Pour half of the bean puree into it, stirring gently to drain most of the liquid. Squeeze the remaining pulp to extract all the liquid. Repeat with the second batch until all liquid is extracted.
Rinse the Pulp: Rinse the pulp with half of the remaining reserved water, strain, and squeeze again to ensure you’re utilizing every drop. Feel free to save the pulp for adding to baked goods or smoothies!
Heat Up: In a pot, add the fresh soy milk with the optional pandan leaf. Bring to a medium-high heat, stirring constantly until it bubbles. Reduce to a gentle simmer and let it cook for 20-30 minutes, stirring occasionally for a creamy texture.
Flavor It: Remove from heat, then add a pinch of salt and your preferred sweetener to taste. Give it a few more stirrings to blend the flavors. You can serve it warm or chilled, and feel free to add any of the optional ingredients for a heartier breakfast treat.
Chef’s Tips:
- Keep an eye on the temperature! Boiling soy milk can cause it to bubble over.
- Common mistakes to avoid include not rinsing the beans well enough and skimming past the skin-removal process for the best texture.
- Have fun with it! Once you feel confident, try variations with different sweeteners or flavorings!
Expert Tips & Tricks
To ensure your homemade soy milk turns out perfectly every time, here are some expert tips:
Use Fresh Soybeans: Make sure your dry soybeans are fresh for the best flavor and nutrition. Check the expiration date before purchase. Brands like Mina or Nongfu Spring often provide quality options.
Storage Options: Store your soy milk in a sealed glass container in the refrigerator for up to 4-5 days. You can also freeze it for extending storage (though the texture may change slightly).
Make Ahead: You can prepare the soy milk ahead of time. Just make sure to give it a good shake or stir before serving as separation may occur.
Troubleshooting: If the milk tastes beany, you may need to adjust the soaking time of your beans or ensure you’ve removed the skins well.
Extra Creaminess: If you prefer a richer milk, try adding a tablespoon of oil, such as coconut oil, during the blending process for added creaminess.
Experiment with Different Flavors: After you’ve mastered the basic recipe, play around with flavorings like cocoa powder for chocolate milk or vanilla for a sweeter treat.
Serving Suggestions
Homemade soy milk is incredibly versatile and can be enjoyed in various ways:
- Pair it with Breakfast: Serve your soy milk alongside warm oats or a fruit smoothie for a nourishing breakfast.
- Presentation Ideas: Consider pouring it into a fancy glass and garnishing with a sprig of mint for visual appeal.
- Occasion Recommendations: Perfect for casual brunches, cozy family breakfasts, or even as a refreshing drink on a hot summer day.
Variations & Substitutions
Let your creativity shine with these delicious variations:
Flavor Combinations: Try blending in a touch of matcha powder for a green tea twist or adding spices like cinnamon and nutmeg for a cozy vibe.
Dietary Adjustments: If you’re nut-free, switch the sugar for maple syrup or agave nectar, and feel free to skip optional coconut or any nut-based add-ins.
Seasonal Specials: In fall, try spicing your soy milk with pumpkin puree and pumpkin spice for a seasonal delight.
Nutrition & Storage Info
- Prep Time: 10 minutes
- Cook Time: 30 minutes
- Total Time: 40 minutes
- Yield: About 6 servings
- Estimated Calories: Approximately 80 calories per cup (without sweeteners/add-ins).
- Storage: Best kept in the fridge for 4-5 days. You can freeze it for up to a month, but remember it may slightly change texture upon thawing.
FAQ Section
Here are answers to some common questions you might have:
Can I use any type of soybeans?
Yes, but it’s best to use organic, high-quality soybeans for the best flavor and nutrient profile.What’s the difference between whole and split soybeans?
Split soybeans are easier to prepare as they don’t require skinning. Whole beans tend to yield richer flavor once processed.Can I make this soy milk in larger quantities?
Absolutely! Adjust the ingredient proportions and store what you don’t use for later.What should I do with the leftover soy pulp?
The pulp can be added to smoothies, baked goods, or even used to make veggie burgers. Get creative with it!Why do I need to remove the skins from soybeans?
Skins can give the soy milk a beany taste and gritty texture, so removing them helps achieve a smoother, more pleasant drink.Can I use a sweetened milk alternative instead of sugar?
Sure! You can sweeten to taste with your favorite syrup or avoid sweeteners entirely for a more natural flavor.How do I know if my soy milk is spoiled?
If it smells odd or tastes off, it’s better to discard it. Fresh homemade soy milk has a pleasant, fresh aroma.What’s the best way to serve soy milk?
It can be enjoyed chilled, warm, or as an ingredient in cooking and baking. It’s fantastic in coffee or tea as well!Does homemade soy milk froth well?
Yes, and it can be used for delicious lattes! Just make sure it’s fresh for the best frothing ability.Can I use soy milk in baking?
Absolutely! You can substitute it for dairy milk in most recipes one-for-one without any issues.
Conclusion
In a world filled with so many choices, having the ability to make your own soy milk is both empowering and nourishing. This recipe not only serves as a wonderful addition to your kitchen arsenal, but also reconnects you with the heartwarming tradition of home-cooking. I truly invite you to try it out—feel free to modify it to match your taste and share your feedback in the comments.
If you enjoyed this recipe, be sure to check out my other blog posts, where I dive into scrumptious plant-based treats and comforting family recipes. Happy cooking!
Homemade Soy Milk
Ingredients
Method
- Rinse the soybeans thoroughly and soak them in plenty of water for at least 8 hours if using whole beans, or 3 hours for split beans.
- If using whole beans, remove most skins by rubbing them gently in the soaking water and drain the water, repeating until the majority of the skins are gone.
- In a blender, add the soaked soybeans and just enough water to cover them. Blend on a low setting until a fine puree forms.
- Gradually add the remaining water while blending and set aside about 1.5 cups of water.
- Set a sieve over a large pot lined with muslin or cheesecloth. Pour half of the bean puree into it, stirring gently to drain most of the liquid. Squeeze the remaining pulp to extract all the liquid. Repeat with the second batch.
- Rinse the pulp with half of the reserved water, strain, and squeeze again to utilize every drop.
- In a pot, add the fresh soy milk and the optional pandan leaf. Bring to medium-high heat, stirring constantly until it bubbles.
- Reduce to a gentle simmer and let it cook for 20-30 minutes, stirring occasionally for a creamy texture.
- Remove from heat, then add a pinch of salt and your preferred sweetener to taste, stirring to blend the flavors.
- Serve it warm or chilled, and feel free to add any of the optional ingredients for a heartier breakfast treat.