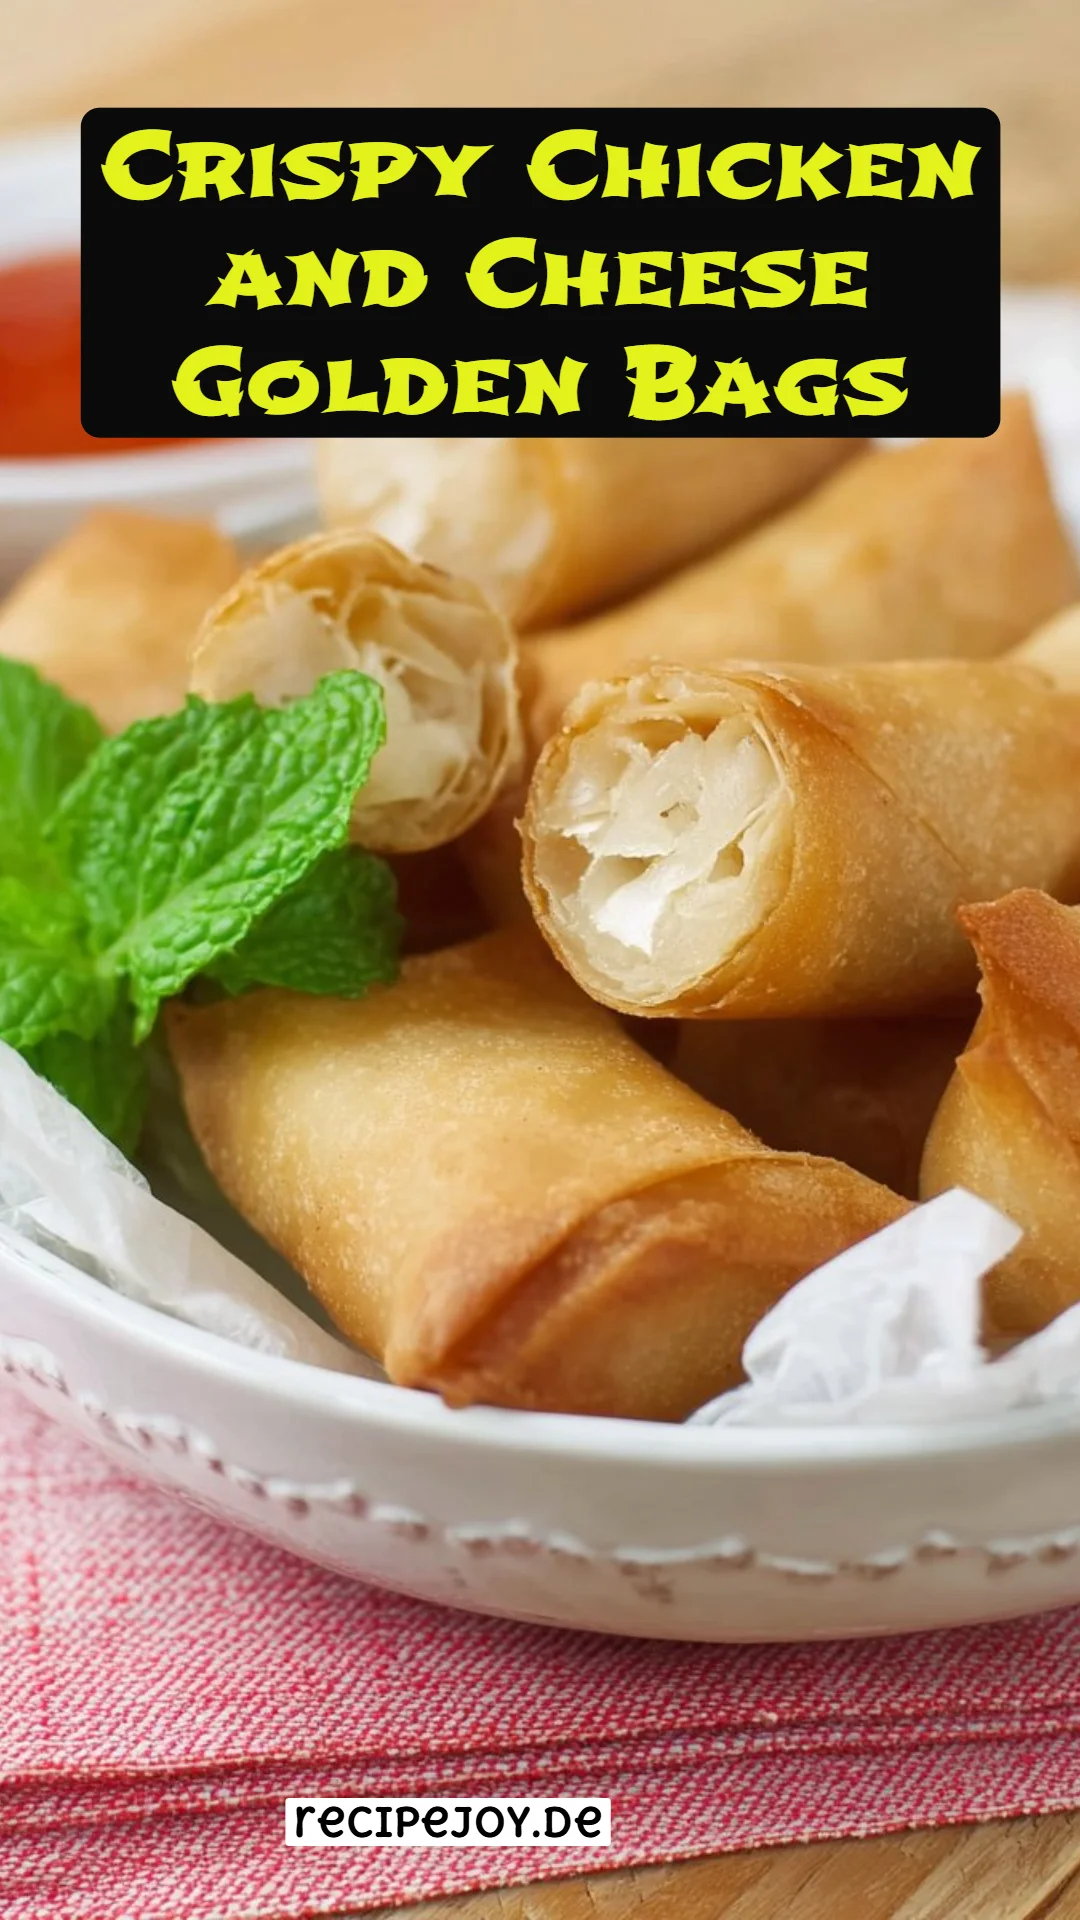
Crispy Chicken and Cheese Golden Bags: Irresistible Bites for Any Occasion!
I still remember the first time I had a bite of Crispy Chicken and Cheese Golden Bags. It was at a family gathering, and they were a huge hit, disappearing off the platters faster than I could keep up. Imagine a crispy, golden shell giving way to a succulent blend of seasoned chicken and melted cheese. Seeing my family’s eyes light up with every crunchy bite turned an ordinary day into a cherished memory, and ever since then, I’ve been on a mission to perfect my version of this delightful dish.
What makes my Crispy Chicken and Cheese Golden Bags stand out? It’s the marriage of flavors and textures; you have the savory, spiced chicken contrasting beautifully with the creamy, rich cheese, all wrapped in a delicate, crunchy layer. More than just a snack, they’re a taste of home, comfort, and joy. You see, many recipes fall short when it comes to flavor or texture, but these golden delights hit every note perfectly.
In this post, I promise you will learn how to create your own Crispy Chicken and Cheese Golden Bags, from sourcing the best ingredients to perfect frying techniques. Let’s dive into a recipe that pulls at the heartstrings!
What Are Crispy Chicken and Cheese Golden Bags?
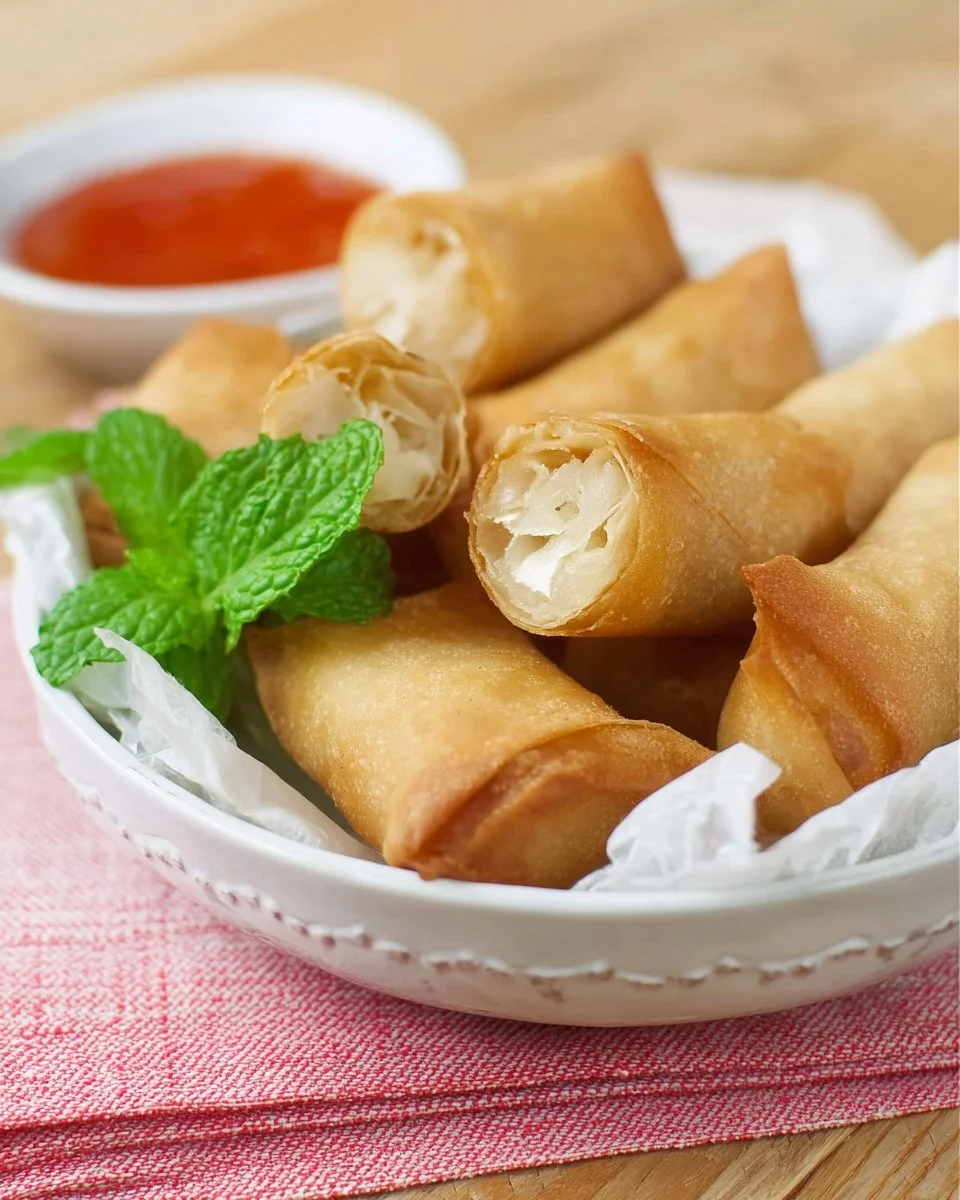
Crispy Chicken and Cheese Golden Bags are a culinary treasure commonly found in Asian-inspired cuisine, often enjoyed as snacks or appetizers at gatherings. These delightful morsels boast a crunchy exterior that gives way to a savory filling made of minced chicken and gooey cheese. They are like little pockets of joy, with each bite revealing a mouthwatering explosion of flavors.
Their uniqueness lies in the combination of fresh ingredients and spices used in the filling, enhancing the taste profile. The contrast of the crispy wrapper with the soft, flavorful interior is simply addictive. Whether you’re hosting a party or enjoying a cozy night in, making these golden bags is a surefire way to impress your guests or bring joy to your family.
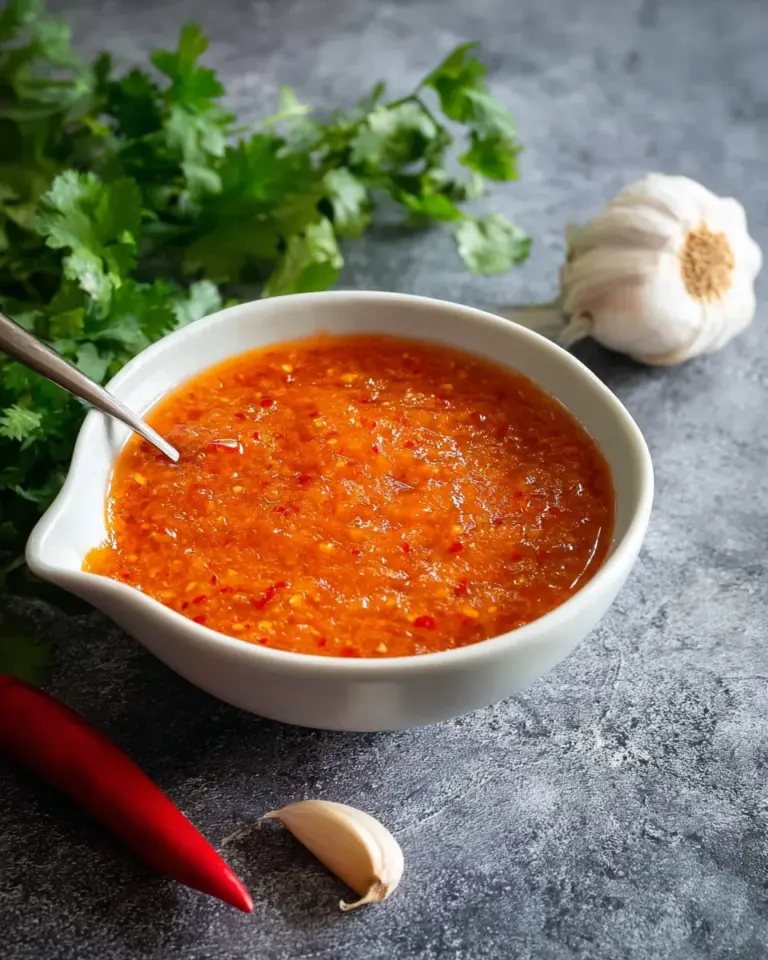
Perfect for any occasion—game nights, holiday gatherings, or just because—they are versatile enough to charm any taste. Serve them up with a side of sweet chili or spicy Sriracha sauce, and you have a delightful appetizer ready to win hearts!
Why You’ll Love This Recipe
Here are several compelling reasons why my Crispy Chicken and Cheese Golden Bags will become a beloved staple in your kitchen:
-
Homemade Goodness: Unlike store-bought options that are often frozen and filled with preservatives, these golden bags are made with fresh, wholesome ingredients. Each bite will have you savoring the love and care you put into making them.
-
Cost-Effective: Making these at home is usually more economical than frequent take-out or dining out, allowing you to treat yourself without breaking the bank. I’ve calculated that a batch costs less than buying a single portion from a restaurant!
-
Customizable: One of the best parts about this recipe is its adaptability. Feel free to switch up the cheese or add your favorite spices or herbs. Want a spicy kick? Toss in some chopped jalapeños! Prefer a different protein? Ground pork or turkey work wonderfully too.
-
Beginner-Friendly: Think you can’t fry? You’ll find that making these golden bags is not only simple but also enjoyable! You’ll gain confidence in your culinary skills while impressing everyone with restaurant-quality snacks.
-
Perfect for Meal Prep: These bags freeze beautifully, making them a great option for easy meal prep. You can whip up a batch, freeze them, and when you’re ready for a delicious snack, just fry them up fresh to serve!
Ingredients Section
Here’s what you’ll need:
- 300g boneless, skinless chicken thigh, cut into small pieces (or ground pork if preferred)
- 4 cloves garlic, minced
- 1/4 tsp white peppercorns, freshly ground
- 1/4 tsp black peppercorns, freshly ground
- 1 1/2 tsp coriander seeds, toasted
- 2 tsp fish sauce
- 1 Tbsp soy sauce
- 1 tsp sugar
- 1 egg
- 2 tsp cornstarch or tapioca starch
- About 40 pieces of goat cheese, cut into 1/4-inch cubes (you can substitute with a milder cheese like mozzarella or cheddar)
- 10 sheets 8-inch spring roll wrappers
- Oil for frying
- Sriracha or sweet chili sauce, for dipping
Ingredient Notes:
- Chicken: Using boneless, skinless thighs gives a moist and flavorful filling. Ground pork can also be used for a rich taste.
- Cheese: Goat cheese has a distinct tang, lending a unique flavor, but feel free to use any melting cheese you love!
- Spring Roll Wrappers: These can be found in the frozen section of most Asian grocery stores. Make sure they are kept covered to prevent drying.
Prep Notes:
- Allow your butter and eggs to come to room temperature to ensure even mixing.
- Freeze the cheese cubes for about 15-20 minutes for easier handling while wrapping.
Step-by-Step Instructions
-
Toast the Spices: In a small dry sauté pan, toast the coriander seeds over medium-high heat until aromatic and slightly darkened (about 2-3 minutes). Remove from heat and set aside to cool.
-
Prep the Cheese: If using soft cheese like goat cheese, freeze the cubes for about 15-20 minutes to make them easier to handle when wrapping.
-
Make the Spice Paste: In a mortar and pestle, grind the white and black peppercorns and the toasted coriander seeds into a fine powder. Next, pound the garlic cloves into a paste.
-
Blend the Filling: In a food processor, combine the chicken, garlic spice paste, egg, cornstarch, soy sauce, fish sauce, and sugar. Process until the mixture is thick enough to hold shape—about 30 seconds.
-
Prepare the Wrappers: Carefully peel apart the spring roll wrappers, and cut each sheet into four quarters. Lay them out in front of you.
-
Assemble the Bags: Scoop about a teaspoon of the chicken filling onto the center of each wrapper. Place a cheese cube in the middle and then encase the filling with the chicken mixture, pinching the corners of the spring roll wrapper to create a ruffled purse.
-
Keep Covered: Place the completed bags on a tray, and cover with a tea towel to prevent them from drying out while you work.
-
Heat the Oil: In a sturdy pot or wok, heat oil to 350°F (175°C). A wooden chopstick should bubble when inserted into the oil—this indicates it’s ready.
-
Fry to Perfection: Drop the golden bags into the hot oil in batches, frying until golden and crispy, about 1 to 1.5 minutes. Drain on a baking rack or paper towel.
-
Serve and Enjoy: Serve your Crispy Chicken and Cheese Golden Bags hot, accompanied by Sriracha or sweet chili sauce for dipping.
Chef’s Tips:
- Keep the oil temperature consistent; too hot and they can burn, too cool and they can become greasy.
- Have a few test batches before frying them all to adjust seasoning.
Expert Tips & Tricks
-
Storage Recommendations: If you have leftovers (which is rare!), keep them in an airtight container in the refrigerator for up to 3 days. Reheat in the oven for the best results to regain that crispiness.
-
Make-Ahead Instructions: You can prepare the filling and wrap them up a day in advance. Store in the fridge, covered, and fry them when ready to serve.
-
Troubleshooting: If the filling leaks out during frying, ensure your corners are tightly sealed and try using a bit of the cornstarch mixed with water as a glue.
-
Nutrition Check: These bags can be a wholesome snack! Opt for lean cuts of chicken and your choice of low-fat cheese options.
-
Creating Different Varieties: Try adding some finely chopped vegetables like bell peppers or mushrooms into the filling for added texture and nutrition.
-
Serving Suggestions: Pair with an Asian salad or some crunchy pickled vegetables for a balanced meal.
Serving Suggestions
These Crispy Chicken and Cheese Golden Bags are remarkably versatile and can be served in various ways. They make excellent appetizers for parties, paired with refreshing drinks. You can also present them as a main dish alongside a vibrant Asian slaw or a fragrant coconut curry for a fusion dinner that’s sure to impress.
For a touch of elegance, arrange the golden bags on a large platter with colorful garnishes of thinly sliced veggies and dipping sauces in the center, allowing guests to help themselves. Need an excuse to throw a party? These golden bags are perfect for a game night or any gathering where you want to wow your friends and family!
Variations & Substitutions
Explore different flavors with these variations:
- Spicy Option: Mix in jalapeños or your favorite hot sauce with the chicken filling for a spicy kick.
- Herbed Delight: Incorporate fresh herbs like cilantro or basil for an aromatic twist.
- Vegetarian Version: Swap the chicken for finely diced mushrooms, tofu, or even a medley of seasonal veggies mixed with cheese for a hearty vegetarian option.
Dietary Adaptations: Gluten-free wrappers are available if you need to accommodate gluten sensitivities, just make sure to check the labels.
Nutrition & Storage Info
- Prep Time: 30 minutes
- Cook Time: 15 minutes
- Total Time: 45 minutes
- Yield: Serves 4-6
- Estimated Calories: Approx. 200 calories per serving
Storage Instructions:
- Room Temperature: Best served hot; leftovers can be stored for a short time outside (not more than 2 hours).
- Fridge: Place in an airtight container for up to 3 days.
- Freezer: Freeze uncooked golden bags separated with parchment paper for up to 3 months. Fry from frozen when needed for the freshest taste!
FAQ Section
-
Can I use chicken breast instead of thighs?
Yes, but be aware that it may result in a drier filling. Chicken thighs offer better flavor and moisture. -
What can I substitute for fish sauce?
Soy sauce can be a great alternative, or you could mix some soy sauce with a few drops of Worcestershire sauce for a similar depth of flavor. -
How can I tell when the oil is hot enough?
Use a deep-fried thermometer or drop a small piece of batter into the oil; it should sizzle and rise to the surface. -
Can I bake these instead of frying?
You can bake them at 400°F (200°C) for around 15-20 minutes, but they won’t be as crispy; make sure to brush them with oil for a golden finish. -
Is it possible to prepare this filling in advance?
Absolutely! You can prepare the filling a day ahead and assemble the golden bags just before frying. -
Do these freeze well?
Yes! You can freeze them uncooked and fry them straight from the freezer. They will stay good for about 3 months. -
How do I keep them crispy when serving?
Place the golden bags in a single layer on a wire rack after frying to allow airflow and maintain their crunch. -
What dipping sauces do you recommend?
Sweet chili sauce, Sriracha, or a homemade spicy mayonnaise work perfectly as dipping companions! -
Are there any vegetarian alternatives?
Yes! You can use finely grated carrots, mushrooms, or tofu mixed with cheese for a tasty vegetarian version. -
What wine pairs well with these?
A light sparkling wine or a chilled Riesling would complement the flavors beautifully!

Conclusion
My Crispy Chicken and Cheese Golden Bags are not just a recipe; they’re a heartfelt journey through flavors and memories, a dish that brings family and friends together. I encourage you to try this delightful dish—you won’t be disappointed! I’d love to hear how they turn out for you, so leave a comment with your feedback or any modifications you tried.
Feeling inspired? Check out some of my other comforting recipes on the blog and let’s make your kitchen the heart of your home! Happy cooking!

Crispy Chicken and Cheese Golden Bags
Ingredients
Method
- Toast the coriander seeds in a small dry sauté pan over medium-high heat until aromatic and slightly darkened (about 2-3 minutes). Remove from heat and set aside to cool.
- If using soft cheese like goat cheese, freeze the cubes for about 15-20 minutes to make them easier to handle.
- In a mortar and pestle, grind the white and black peppercorns and the toasted coriander seeds into a fine powder. Pound the garlic cloves into a paste.
- In a food processor, combine the chicken, garlic spice paste, egg, cornstarch, soy sauce, fish sauce, and sugar. Process until the mixture is thick enough to hold shape—about 30 seconds.
- Peel apart the spring roll wrappers and cut each sheet into four quarters. Lay them out in front of you.
- Scoop about a teaspoon of the chicken filling onto the center of each wrapper. Place a cheese cube in the middle and encase the filling with the chicken mixture, pinching the corners to create a ruffled purse.
- Place the completed bags on a tray, and cover with a tea towel to prevent them from drying out.
- Heat oil in a sturdy pot or wok to 350°F (175°C). Drop the bags into the hot oil in batches, frying until golden and crispy, about 1 to 1.5 minutes.
- Drain on a baking rack or paper towel and serve hot.